You know how disruptive a major exterior project can feel. That uncertainty is exactly why a typical Hartford County roof replacement needs a structured, predictable path.
We have kept our roof install steps consistent to eliminate surprises. This guide breaks down the exact roof replacement process timeline, what happens on site, and what you actually need to do.
Let us look at the facts, what they actually tell us, and how we apply them on the job.
The Six-Step Roof Replacement Process Timeline
Step 1: Phone Consult (10-15 minutes)
The first call covers the scope at a high level. You tell us what you are seeing, what you have already tried, and your timeline. We use this time to determine whether the situation is an urgent active leak or a planned upgrade for an aging system. Booking the on-site evaluation happens directly on this call. Our team values your time. Most Connecticut homeowners expect quick scheduling, so we move fast.
Step 2: On-Site Evaluation (45-60 minutes)
Our lead estimator comes to the property to walk the roof and photograph every detail. We frequently use software like IMGING alongside drone flights to safely capture exact measurements and identify subtle slope defects. Modern tools provide far better accuracy than old-school tape measures.
Our inspectors still climb into the attic to check ventilation and examine the decking from below. Bringing physical samples on-site is a priority. You need to see how leading brands like GAF or Owens Corning match your home’s siding in natural light.
Step 3: Itemized Written Estimate (24-48 hours after evaluation)
You receive a detailed written estimate by email within two days. The average cost to replace a roof in Connecticut sits around $12,000, so you deserve total transparency. We break down the exact costs for materials, labor, disposal, and permits as separate line items.
Each line item stands alone to prevent any confusing bundled numbers. Our estimates remain valid for 30 days. This gives you plenty of time to compare options. If you are wondering how long does a roof replacement take, the actual labor usually requires just one to two days after materials arrive.
Step 4: Q&A Session (30 minutes, often by phone)
Once you have reviewed the estimate, a quick phone call clarifies any lingering questions. We explain the material trade-offs and go over specific warranty details. A standard 10-year warranty differs greatly from a 50-year non-prorated system.
Our team also discusses the schedule, payment options, and what happens if we find rotten wood under the old shingles. Getting everything answered upfront builds confidence before you sign.
Step 5: Sign & Schedule
A signed agreement officially puts you on the installation calendar. We typically require a small 10 percent scheduling deposit to secure the date. This initial payment aligns with Connecticut contractor regulations and protects both parties.
Our production manager immediately orders the materials to avoid supply chain delays. You get a confirmed start date and a weather window five to seven days before the crew arrives.
Step 6: Install Day
The installation day is when the physical transformation finally happens. We follow a highly regimented schedule to keep the project on track.
Install Day in Detail
| Time Window | Activity | Details |
|---|---|---|
| 6:30 - 7:00 AM | Crew Arrival & Setup | Teams place tarps over landscaping and set up plywood ramps for the dumpster. Same-day dumpster delivery is standard. |
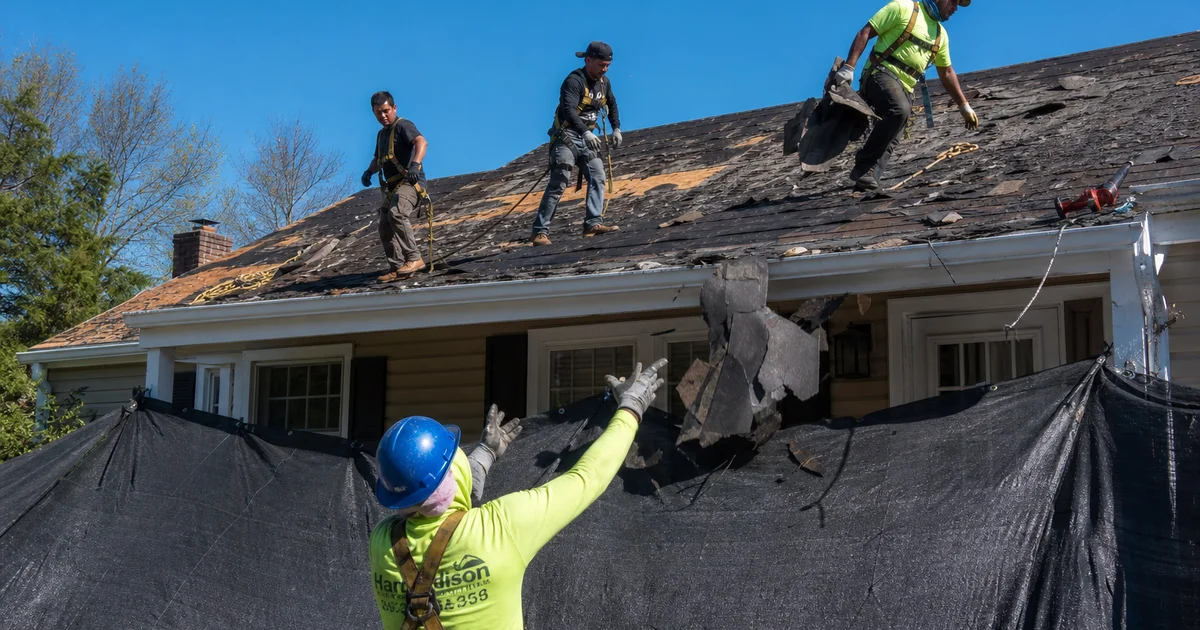
| 7:00 - 11:00 AM | Tear-Off & Inspection | Old shingles, underlayment, drip edges, and ridge caps come off. Decking gets inspected for rot. Any needed repairs require your approval. |
| 11:00 AM - 2:00 PM | Shield & Underlayment | Ice-and-water shields go on eaves to meet CT code. Synthetic underlayment and step flashing are installed. |
| 2:00 - 5:00 PM | Shingle Installation | Starter shingles go down first, followed by staggered field shingles using a strict six-nail pattern. |
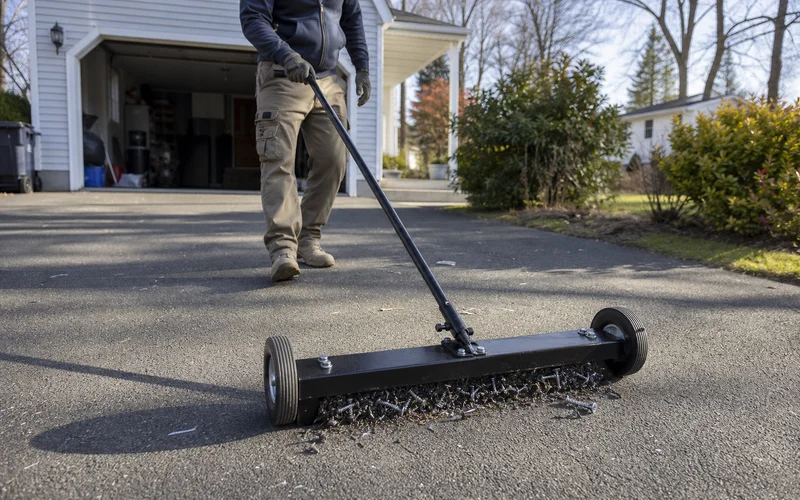
| 5:00 - 6:00 PM | Cleanup & Walkthrough | The crew runs a magnetic sweep for nails. The dumpster is prepped for removal, and we do a final walkthrough with you. |
Single-day jobs wrap up with this final sweep. We follow the exact same pattern for two-day jobs, finishing the shingle installation on the second afternoon.
Property Protection Details
Roofing creates a massive amount of debris. We invest heavily in property protection to ensure your yard looks untouched. A standard protection package covers all the vulnerable spots around your home. See also: Signs Your Roof Needs to Be Replaced.
Here is what that includes:
- Tarps over all landscaping within 8 feet of the dripline to catch falling grit.
- Plywood ramps and pads positioned under dumpster wheels and heavy material drops.
- Window well covers to block stray fasteners.
- Pool covers deployed if a swimming pool sits within the debris range.
- Equipter RB4000 debris management on larger jobs.
- Magnetic sweep at the end of the day to capture loose nails.
The Equipter RB4000 is a game-changing tool for site cleanliness. This drivable dumpster features a 12-foot lift and holds up to 4,000 pounds of old shingles. We back it right up to the roofline to catch the debris before it ever hits the ground.
A four-foot rollback feature lets the bucket extend directly over your flowerbeds. Your siding, landscaping, and driveway remain perfectly safe.
Weather Contingency
Connecticut weather forces roofing contractors to stay flexible. We absolutely will not install shingles in active rain or below 40 degrees Fahrenheit.
Pro Tip: Asphalt shingle sealant strips require temperatures above 40°F to activate and bond securely. Installing below this threshold risks severe wind uplift damage later.
Installing cold materials makes the shingles brittle and risks long-term issues. If the forecast changes mid-job, the crew adapts immediately. We either accelerate our pace to finish before the storm front arrives or safely tarp the in-progress sections.
Work simply resumes on the next clear day. You always get a confirmed start date and a weather-contingent finish window before any materials drop. No homeowner should ever face a surprise five-day project.
What You Need to Do During Install Day
Honestly, you need to do very little while the crew works. Move your cars out of the driveway by 6:30 AM to give the trucks clear access. Relocate outdoor furniture and grills safely away from the immediate roof dripline.
Pets require special attention during a roof tear off day. The Occupational Safety and Health Administration notes that heavy construction noise easily exceeds 85 decibels. We highly recommend keeping dogs inside or sending them to a sitter, because the constant banging causes severe stress.
You do not even have to be home while the tear-off happens. We coordinate by phone for any sudden decking decisions or wood replacement approvals. A streamlined roof replacement process timeline ensures your property gets protected quickly and professionally.
Call our office today to schedule your free on-site evaluation and take the first step in securing your home.